How to Make Play Dough at Home with Your Child: A Fun and Easy Guide
Making play dough at home is a delightful activity that offers a wonderful opportunity for quality time with your child. Not only is it an engaging and creative process, but it also allows you to ensure the ingredients are safe and non-toxic. Here’s a step-by-step guide to crafting homemade play dough.
Ingredients You Will Need
- 250 grams of plain flour
- 125 grams of salt
- 30 millilitres of lemon juice (or white vinegar)
- 30 millilitres of vegetable oil
- 500 millilitres of water
- Food colouring (optional)
- Essential oils (optional)
Equipment:
- Large mixing bowl
- Saucepan
- Wooden spoon
- Measuring jug and scales
- Parchment paper or a clean surface for kneading
Instructions:
1. Prepare Your Workspace: First, ensure your workspace is clean and organised. Lay out all the ingredients and equipment you will need. This helps to keep everything in order and makes the process smoother.
2. Combine Dry Ingredients: In a large mixing bowl, combine the plain flour and salt. Mix thoroughly to ensure the dry ingredients are well distributed.
3. Heat the Wet Ingredients: Pour the water into a saucepan and place it on medium heat. Add the vegetable oil and lemon juice (or white vinegar) and stir. If you are using food colouring, add it to the water mixture now. This ensures the colour is evenly distributed throughout the dough. You can also add a few drops of essential oil for a pleasant fragrance.
4. Mix Dry and Wet Ingredients: Gradually add the dry mixture to the saucepan, stirring continuously with a wooden spoon. Keep stirring until the mixture forms a dough-like consistency. It should start to pull away from the sides of the pan and come together into a ball.
5. Knead the Dough: Remove the dough from the saucepan and place it on a piece of parchment paper or a clean surface. Allow it to cool slightly, but not too much, as it’s easier to knead while warm. Once it’s cool enough to handle, knead the dough for a few minutes until it becomes smooth and elastic.
6. Store the Play Dough: Once the play dough is well-kneaded and has reached a smooth consistency, it’s ready for play! Store it in an airtight container or plastic bag to keep it soft and pliable. Properly stored, it should last for several weeks.
Tips and Variations:
- Custom Colours: Divide the dough into smaller portions and add different colours to each portion. This is a great way to teach your child about colour mixing.
- Textures and Scents: Incorporate different textures and scents into your play dough. For example, add glitter for a sparkly effect or a few drops of lavender oil for a calming scent.
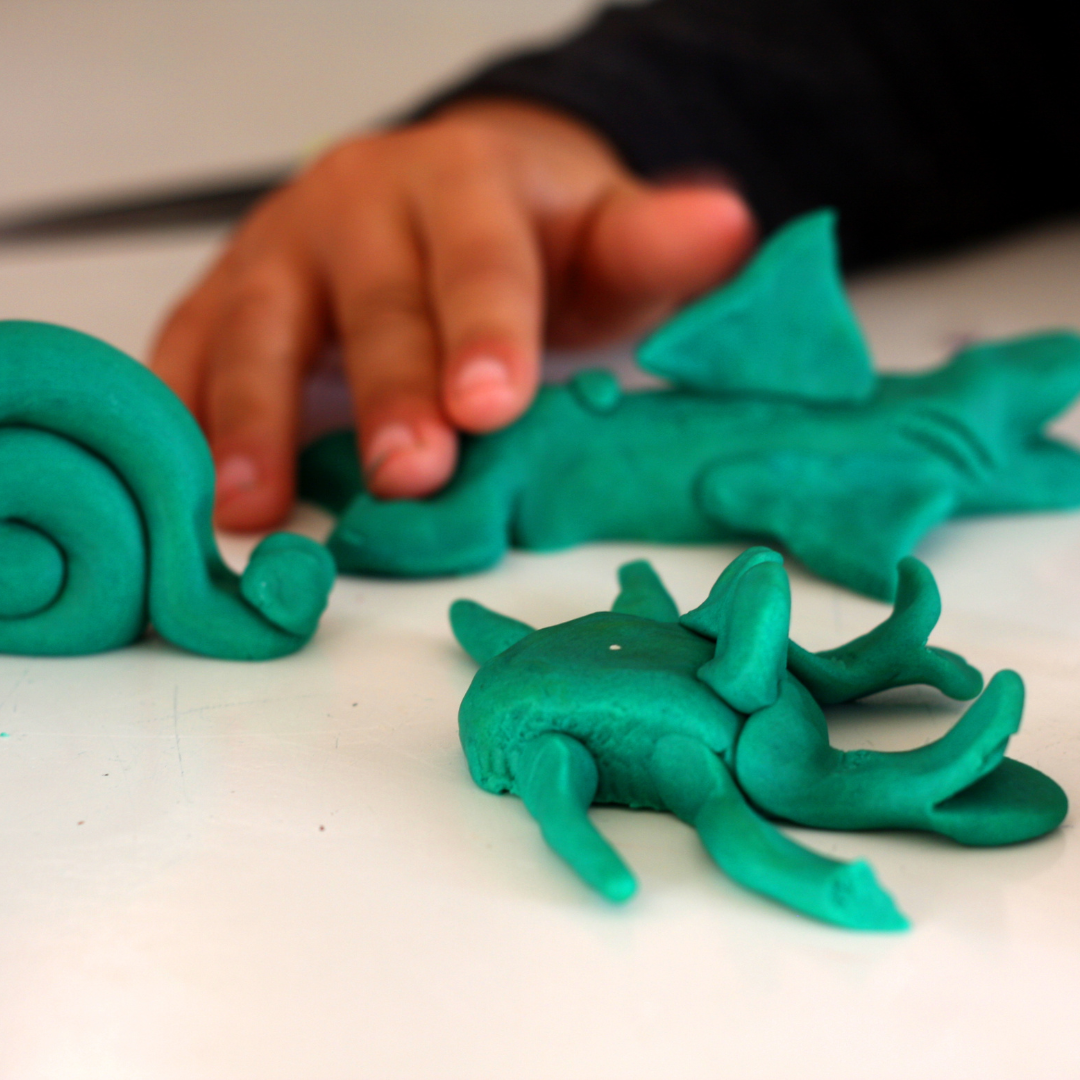
- Educational Play: Use the play dough for educational activities, such as creating shapes, letters, and numbers. It’s a fantastic way to combine learning and play.
Safety and Clean-Up:
Always supervise young children during play dough activities to ensure they don’t ingest the dough. Although homemade play dough is non-toxic, it’s best to avoid ingestion. Clean-up is relatively easy – use a damp cloth to wipe down surfaces and wash utensils with warm soapy water.
Making play dough at home is a rewarding activity that fosters creativity, fine motor skills, and sensory development in children. It’s an affordable and enjoyable way to spend time together, creating memories and masterpieces. So, gather your ingredients and get ready for some fun-filled dough making!

